
How to fix a leaking shower head.
- Dec 17, 2020
- 0
 Emergency Plumber 24|7
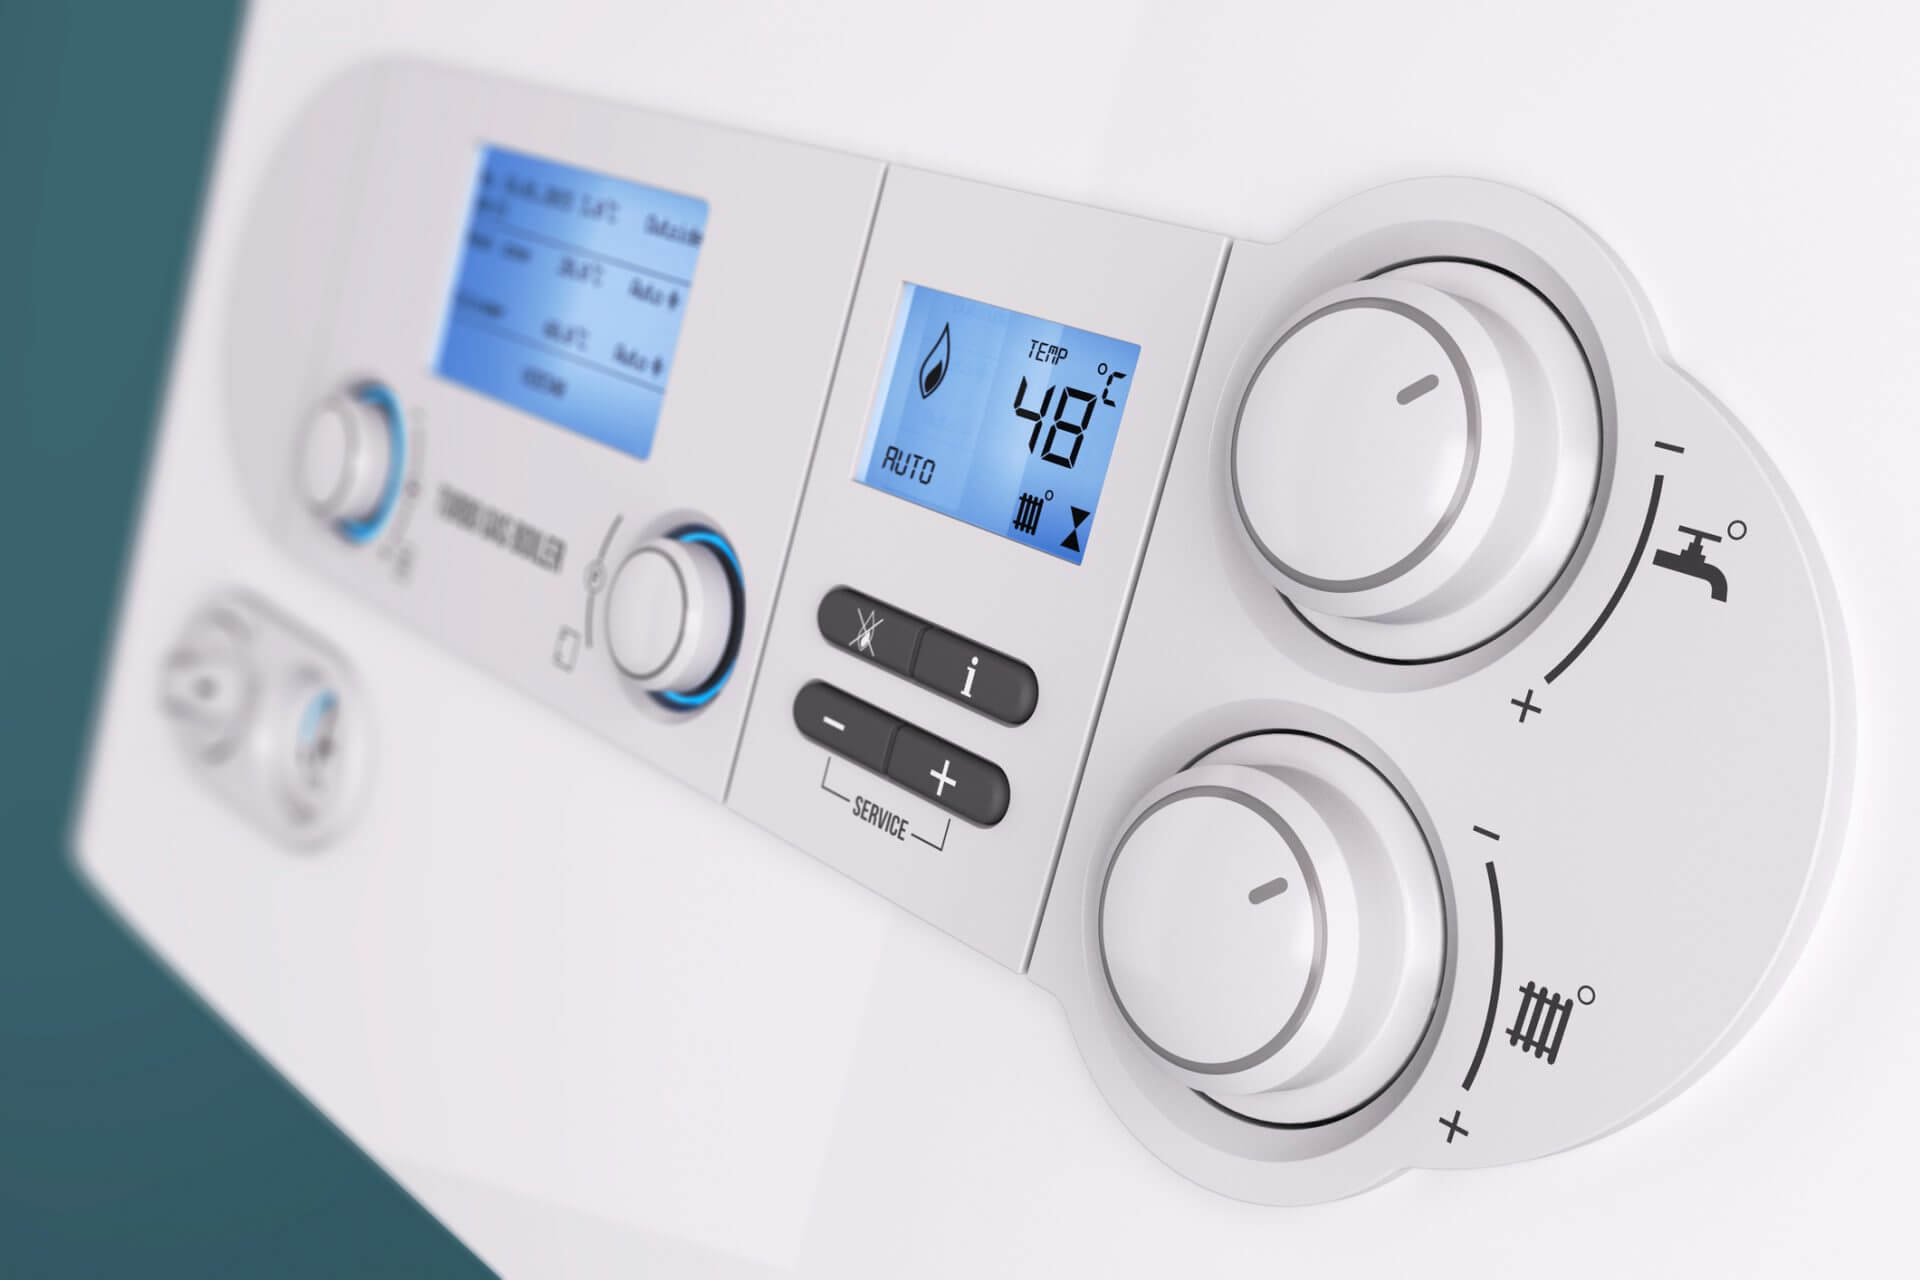
Every once in a while we look around our home and think, this place could do with a make over. However, as you start to review the work invovled, you become put off by the numerous removals and lifting you would have to embark upon to do it. Before you know it, you have put yourself off and put a pin in it to return to the option at a later stage. One of the hardest things people contemplate is how to remove a radiator. As such, we have included some notes below to assist you overcome this setback.
How to remove a radiator - first steps
As always, before you start, compile a list of tools you will need to get the job completed - theres only one thing worse than realising you've got the towel or the spanner, but you get half way into the job and realised you have placed your tools and accessories out of reach and you are now balancing a heavy radiator between your hands.
Step 1 – have the necessary tools for the job at hand
• Radiator key (aka the bleed key), you will recognise this as the little tool that bleeds air out of radiators, it fits in a socket located at the top of the radiator
• Adjustable spanner or pliers
• A set of towels, sponge and short walled bucket
• A Painting roller-tray, if you don’t have one of these a couple of plastic take-away containers – will do. If they are shallow enough to fit underneath your radiator, then that is even better.
• Plastic Bucket
• Dust sheet
The optional tools
1. Screwdriver
2. Pair of tights
3. Metal lubricant spray.
2. Step 2 - Prep.
You’ll find a nut that either end of your radiator. You will want the one at the opposite end to the TRV. Pad around the pipe and under the radiator with the towels your prepared earlier along with your paint roller tray or takeaway trays. Loosen the nut with your adjustable spanner, remembering to hold against the turn to stop twisting the valve on the pipework. Losen the bleed valve at the top of the radiator with your radiator key and wait until water starts to spit out. Keep the process going whilst empting your smaller trays into your bucket until the radiator is empty.
Top tip 1 – Losen the valve nut at the other end of the radiator (where the TRV is, if you have one), but before you do, pad that area with towels and ensure you have a container ready to catch the water to be drained. You’ll often find there’s a little water pooled at the opposite end of the radiator where you are draining, be sure to tilt and evacuate all water inside the radiator, otherwise you will end up spilling it onto your floor.
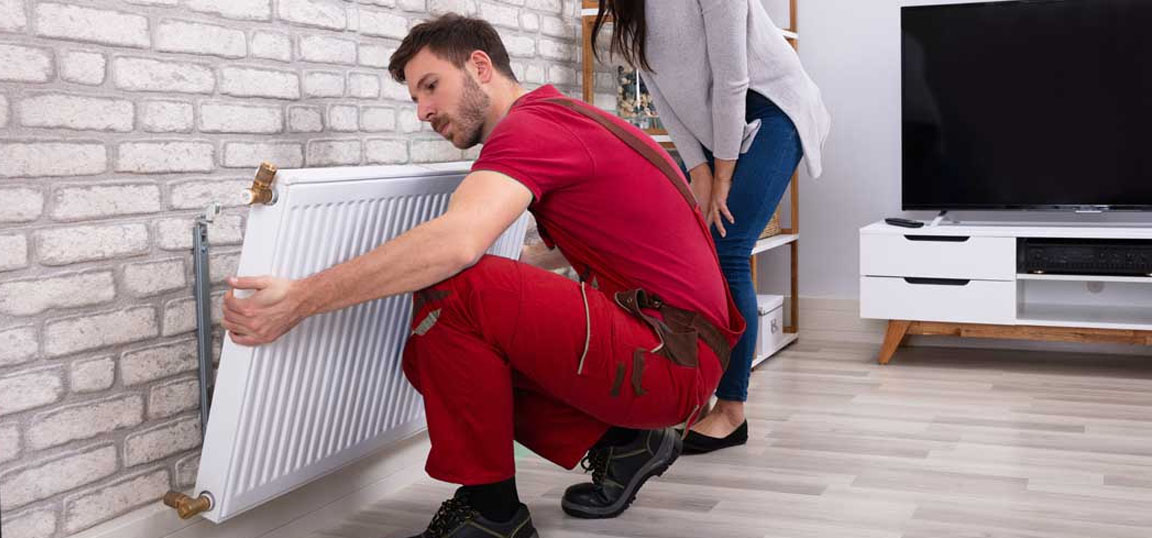
3. Remove the Radiator
To remove the radiator, lift the radiator up and towards yourself making sure it clears the holding brackets. Keep it level and then transfer it to an area you can safely leave it until you complete your re-decoration. It is good to note that the last remaining water in a radiator can be pretty grungy and black, so when you’re carrying it, you will want to be sure that you have a sponge to hand to catch and wipe down the drips as they emerge.
Top tip 2 – clean your radiator! If you have those old fashioned radiators or even the modern ‘retro’ ones, you’re probably looking the amount of dust trapped in the radiator with horror. Removing a radiator gives you the chance to undertake a really deep clean. Take that pair of tights and dangle it in between the radiator pipes, then catch hold the dangling end and pull them back and forwards briskly, watching the dust fly! Move along to the next set of pipes and repeat. The static generated by the tights attracts the dust to them, rather than the radiator. Because the towel below the radiator is damp, it will cause any remaining dust to settle so that it doesn’t simply fly back up to the radiator.
Top tip 3 – Touch-up like a Pro. Radiator valves are prone to becoming stuck, rusted or jammed when being released after a long period of time. Now would be an opportune time to apply lubricant to nuts and valve on your radiator. WD40 spray amongst others will do a great job. If you do not have lubricant spray, moisten a cloth with oil and swish it into the valve joints and nuts, this should also fair well.
Step 4 – Decorate
You should be all good to go now. Prepare to paint or wallpaper your room or feature wall. If you are also painting your radiator, choose a coresponding specialist radiator paint that matches the rest of your decor. Only attempt to paint your radiator when they are off and cold to the touch. It is a good idea to leave the painting of your radiators until the end of your decorating. You’ll want to re-heat your radiators within 24 hours to ensure the paint cures effectively.
Note: Most modern radiators nowadays are stove enamel so painting them isn’t required!
Step 5 – Rehang Your Radiator After Decorating
It’s simply a case of reversing the process:
• Rehang the radiator on its brackets any small plastic inserts on the radiator brackets should also be replaced
• Tighten up the nuts on each end of the radiator you losened earlier
• Fully tighten your bleed valve completely (using the radiator key)
• Restore the TRV to its original position
• Now turn to open the valve on the opposite side of your bleed valve to allow your radiator to fill up.
• Use the radiator key to release trapped air by opening the bleed valve (as necessary)
• Re-pressurise your boiler – by turning its water valve tap to increase the pressure. When the pressure is the same as the original pressure, close the valves/tap.
Step 6 – The Secret to a Happy Radiators
Here’s a sad fact: If air and water mix within a radiator, it causes corrosion – this reduces the lifespan of a radiator. Professional Plumbers counter this by adding an anti-corrosion fluid (called an inhibitor), to the system. You can do this yourself if you like by checking the manufacturer’s instructions for your boiler and apply accordingly.
If you have a sealed heating system, you can use an inhibitor cartridge – which you inject into the bleed valve. If it’s an open vent system (which means you have an expansion tank or a cistern) you add the inhibitor to the cistern. Inhibitors can be bought at any good DIY store.
• Cool the system
This is probably self evident, but it sometimes gets overlooked. Be sure that the radiator and pipes are completely cold before you begin work. If you’re decorating during the winter months, you should seek an alternative source of heating in the room while you decorate, such as a portable heater.
Setup a Radiator Storage Area
After the removal of a radiator, you will need somewhere to place it whilst you decorate. Ideally, this should be in another room, but if that is not possible, pick a wall space in the room you are decorating to lean the radiator against. Prepare that area with plenty of towels and rags to ensure you catch any water leaking from the radiator while it it sationary.
See How Much Play There is in the Radiator
Check to see how much give there is in the radiator pipes below your radiator. If you have concrete or laminate floors that have been laid above the original plumbing, there might be very little space to manoeuvre, in which case you may need assistance with the removal of the unit.
Remove Radiator Shelves
Radiator shelves are a nice piece of decor and are very practical. However, they can cause minor accidents with knocked elbows and scuffed arms. Similarly, when removing a radiator, you will need to take all of this into account, as it will only restrict your ability to do the job effectively.
Note the pressure level
If you have a pressurised heating system, you will know there to be a featured dial on the facia of the boiler. Make a note of the pressure or take a snap on your phone. That way, after you finish redecorating, You have a clear record of where the pressure reading needs to be. Reset the system accordingly.
© Copyright 2020 | All Rights Reserved by Jimmy Stanton