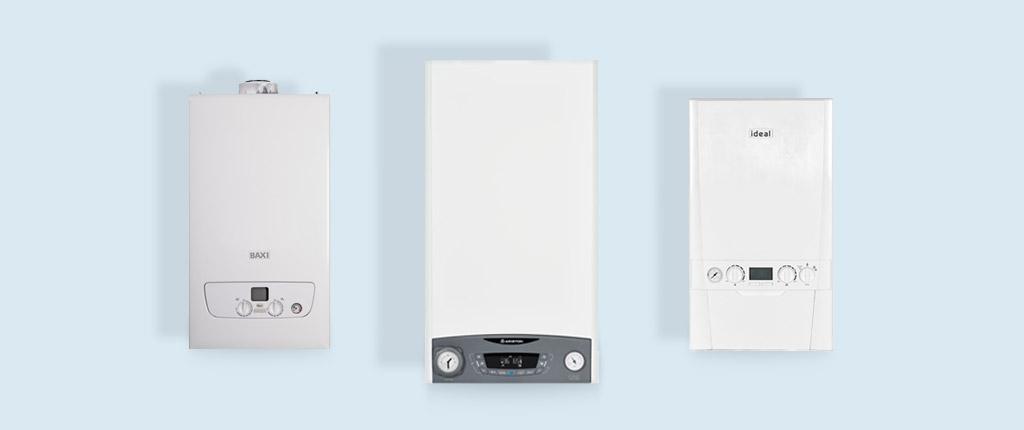
How do I know if my boiler needs Replacing?
- Oct 03, 2020
- 3
Sometimes we look around a room and think, 'this could do with a makeover' and off we go, choosing paint or wallpaper, picking out carpets or blinds .. .it's great fun. One task that almost nobody thinks is fun is the chore of removing a radiator to paint or paper behind it, but we hope that our list of hints, tips and hacks is going to change that!
Before you do anything, assemble the tools you're going to need - there's only one thing worse than realising you need a towel, or a spanner that you haven't got, and that's realising you've got the towel, or the spanner, but you put it down just out of reach and now you're holding a heavy radiator...
Step 1: The necessary tools
• Radiator key (aka the bleed key). This is the little tool that bleeds air out of radiators, it fits in a socket at the top of the radiator.
• Adjustable spanner (or a normal spanner that fits, try it first to be sure).
• Towels and a sponge.
• Paint roller tray (if you don't have one of these, get a couple of old plastic take-away containers - they need to be shallow enough to fit under the radiator but big enough to take a reasonable amount of water).
• Bucket.
• Dust sheet.
Optional Tools
1. Screwdriver
2. Pair of tights
3. Metal lubricant spray

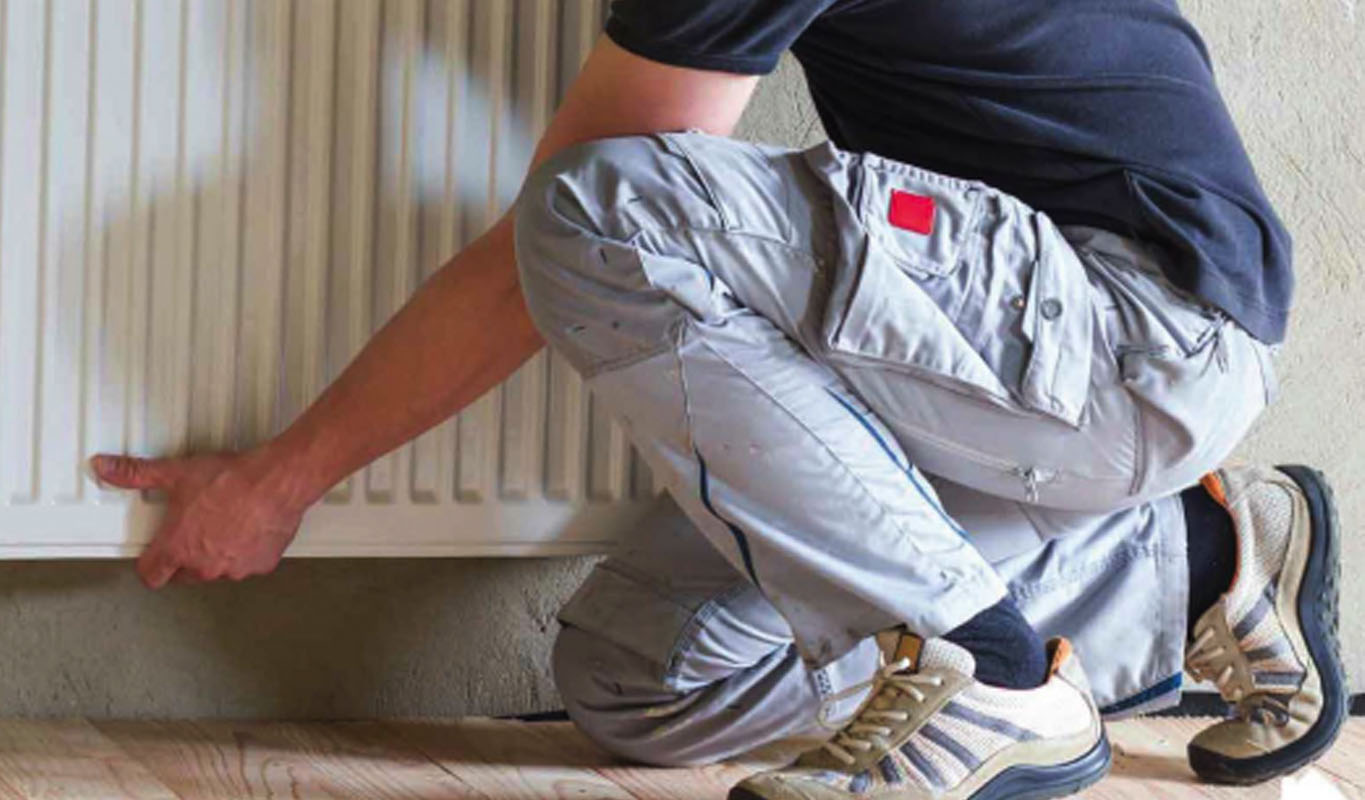
There's a big nut, probably at either end of the radiator, between the radiator and the valves, and you want the one at the opposite end to the TRV. Pad around the pipe and under the radiator with old towels and have your paint roller tray or takeaway tray handy. Loosen this nut with your adjustable spanner, remembering to hold against the turn to stop twisting the valve on the pipework, then loosen the bleed valve at the top of the radiator with the radiator key and water will start to leak out. Catch it in the tray and tighten the nut when the tray is nearly full so you can empty the tray into the bucket. Loosen the nut to repeat the process until the radiator is empty.
-
Top Tip 1:Just loosen off the nut at the other end of the radiator (where the TRV is, if you have one), but before you do, pad that area with towels and have something ready to catch water. You'll often find there's a little water pooled at that end which you need to drain before you lift the radiator, otherwise, it will spill onto the floor.

Lift the radiator slightly up and away from the brackets and walk back a couple of steps, keeping it level, then transfer it to the storage area you've prepared for it. Remember that the last water in a radiator can be pretty grungy and black, so when you're carrying it, you want to be sure that somebody else has that sponge in their hand so they can crouch down and wipe away any drips as they emerge.
Top Tip 2: Clean your radiator! If you have those old-fashioned radiators or even the modern 'retro' ones, you're probably looking at the amount of dust trapped in the radiator with horror. Removing a radiator gives you the chance to undertake a really deep clean. Take that pair of tights and dangle it in between the radiator pipes, then catch hold the dangling end and pull them back and forwards briskly, watching the dust fly! Move along to the next set of pipes and repeat. The static generated by the tights attracts the dust to them, rather than the radiator. Because the towel below the radiator is damp, it will cause any remaining dust to settle so that it doesn't simply fly back up to the radiator.
Top Tip 3: Maintain like a pro. Radiator valves are prone to becoming stuck and can even rust. A suitable lubricant, applied at this point, can save you problems in future with stuck valves. Simply spray your chosen lubricant onto a clean cloth and gently rub over the valve area. Repeat this action with your radiator pipework. As a bonus, if you drip or spray paint onto your radiator pipes, you will find it's much easier to remove if the pipes are lightly coated with lubricant.
Paint or paper your wall, and if you're painting your radiator, this is the time to do it. Use specialist radiator paint, which is designed for metal and will resist discolouration at high temperatures. Apply paint when the radiator is cold and allow to dry. Leave painting radiators to the end of the process as you'll want to re-heat the radiator within 24 hours to ensure the paint cures effectively. Most modern radiators nowadays are stove enamel so painting them isn't required!
It's simply a case of reversing the process:
• Rehang the radiator on its brackets (any small plastic inserts on the radiator brackets should also be replaced)
• Tighten both nuts to reconnect the valves to the radiator
• Close the bleed valve completely, using the radiator key
• Restore the TRV to its original position
• Now turn the other valve to the left to open it and allow the radiator to fill up
• Use the radiator key to release trapped air by opening the bleed valve as necessary
• Re-pressurise your boiler - to increase pressure, find the filling loop (a flexible hose under the boiler with a valve at each end), open the valve heads slightly using a screwdriver to let in cold water from the mains to fill up the system. When the pressure is the same as the original pressure, close the valves.